Step-by-Step Workflow: From CAD to Photorealistic 3D Architectural Render
Introduction: Why a Step-by-Step Workflow Matters
A Step-by-Step Workflow is essential for any architecture designer aiming to transform CAD drawings into photorealistic 3D architectural rendering. This process ensures accuracy, consistency, and quality, allowing designers to deliver visuals that feel authentic and immersive.
For modern projects, including 3D home rendering, following a structured workflow prevents errors and miscommunication. It allows studios and freelancers to manage complex design elements efficiently—from CAD plans to lighting, textures, and final output. Using a clear Step-by-Step Workflow, architecture designers can maintain high standards, even on tight deadlines.
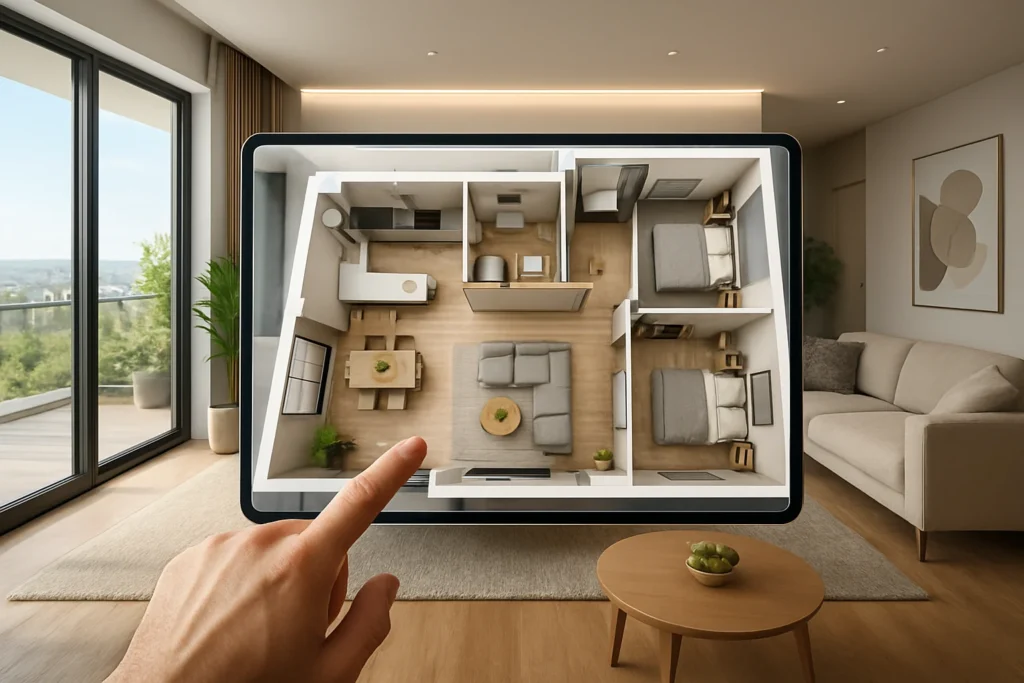
Image suggestion: CAD-to-3D workflow diagram
Alt text: “Step-by-Step Workflow CAD to 3d architectural rendering”
Importing and Cleaning CAD Files
The foundation of photorealistic 3D architectural rendering begins with CAD files. Most architecture designers receive DWG or DXF drawings with layouts, levels, grids, and dimensions.
A clean CAD file is critical. Unnecessary layers, annotations, or rough lines can cause errors during 3D modelling. By cleaning the file upfront, designers ensure the subsequent steps run smoothly, and the model remains precise.
This step sets the tone for the entire Step-by-Step Workflow and is crucial for high-quality outputs.
Building the Base 3D Model
After CAD clean-up, the next phase is transforming the 2D plan into a 3D structure. Walls, floors, ceilings, doors, and windows are modelled carefully. This stage defines the architectural integrity and ensures accurate dimensions for every element.
Even minor inaccuracies here can affect lighting, textures, and final photorealism. Many architecture designers emphasize that a strong base model is the backbone of successful 3D architectural rendering.
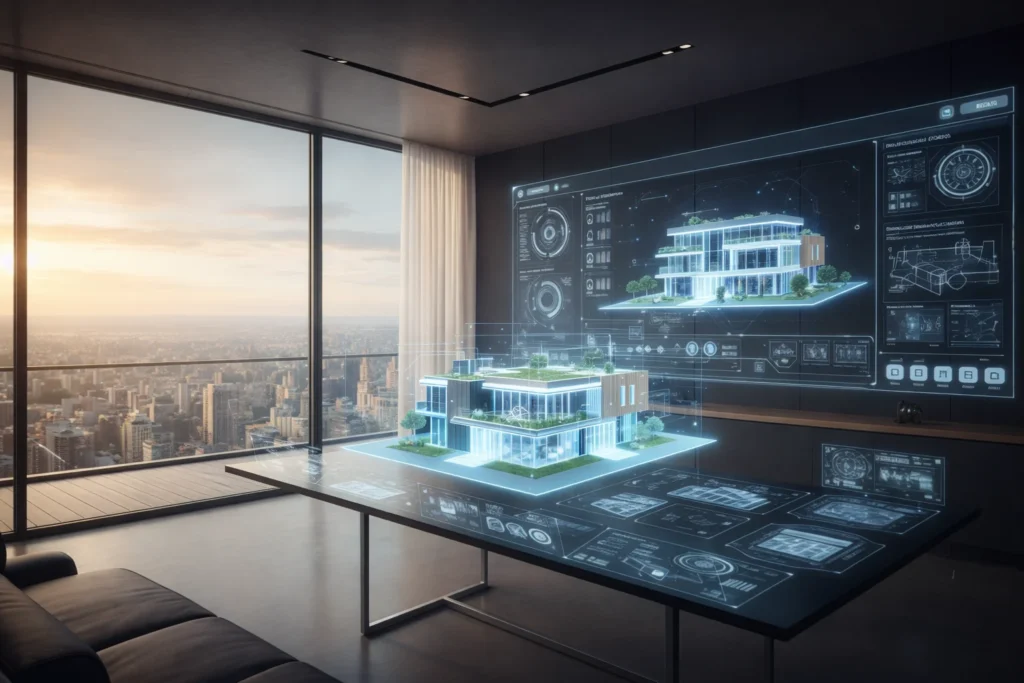
Image suggestion: Base 3D model preview
Alt text: “Step-by-Step Workflow 3D modelling for architectural rendering”
Applying Materials and Textures
Materials bring life to the 3D model. Without realistic textures, a model looks flat and artificial. This step is where designers choose wood, marble, metal, concrete, or fabric textures, adjusting roughness, reflectivity, and displacement to match real-world behaviour.
Even for large surfaces, accurate UV mapping prevents stretching or repetition. This is a crucial stage in the Step-by-Step Workflow, especially for 3D home interiors or commercial projects where clients scrutinize every detail.
Setting Up Lighting for Photorealism
Lighting is often the most transformative part of 3D architectural rendering. It establishes depth, mood, and realism. Whether using HDRI, natural sunlight, or artificial lights, designers must carefully test different setups.
For interiors, soft, diffuse lighting creates comfort, while exterior architectural rendering often uses sun positions for realism. Designers adjust intensity, colour temperature, and shadows to ensure materials respond naturally.
Adding Details and Furnishings
Even a perfectly modelled space feels empty without furniture and contextual details. Adding furnishings, decorative elements, and environmental props enhances scale and realism.
For example, plants, rugs, and human silhouettes can make interiors feel lived-in, while cars and landscape elements enrich exterior renders. Thoughtful detailing ensures each Step-by-Step Workflow stage contributes to the final photorealistic experience.
Camera Setup and View Framing
Camera setup is a subtle but essential part of the workflow. Correct angles, lens settings, and framing determine how viewers perceive space.
Eye-level shots feel natural, wide shots show volumes, and close-ups highlight textures. Consistent camera perspectives help maintain a professional portfolio for architecture designers while emphasizing the realism of 3D architectural rendering.
Test Renders and Corrections
Before committing to final output, designers run test renders to check:
- Lighting accuracy
- Texture alignment
- Shadow behaviour
- Reflection realism
These low-resolution previews save time and prevent errors in final photorealistic renders. Adjustments at this stage ensure a polished final output.
Final Rendering and Post-Production
Once the model, textures, lighting, and details are approved, final rendering begins. This step produces high-resolution images with realistic shadows, reflections, and natural light bounce.
Post-production enhances color balance, contrast, sharpness, and small corrections. However, the workflow emphasizes refinement, not redesign, maintaining fidelity to the original 3D model.
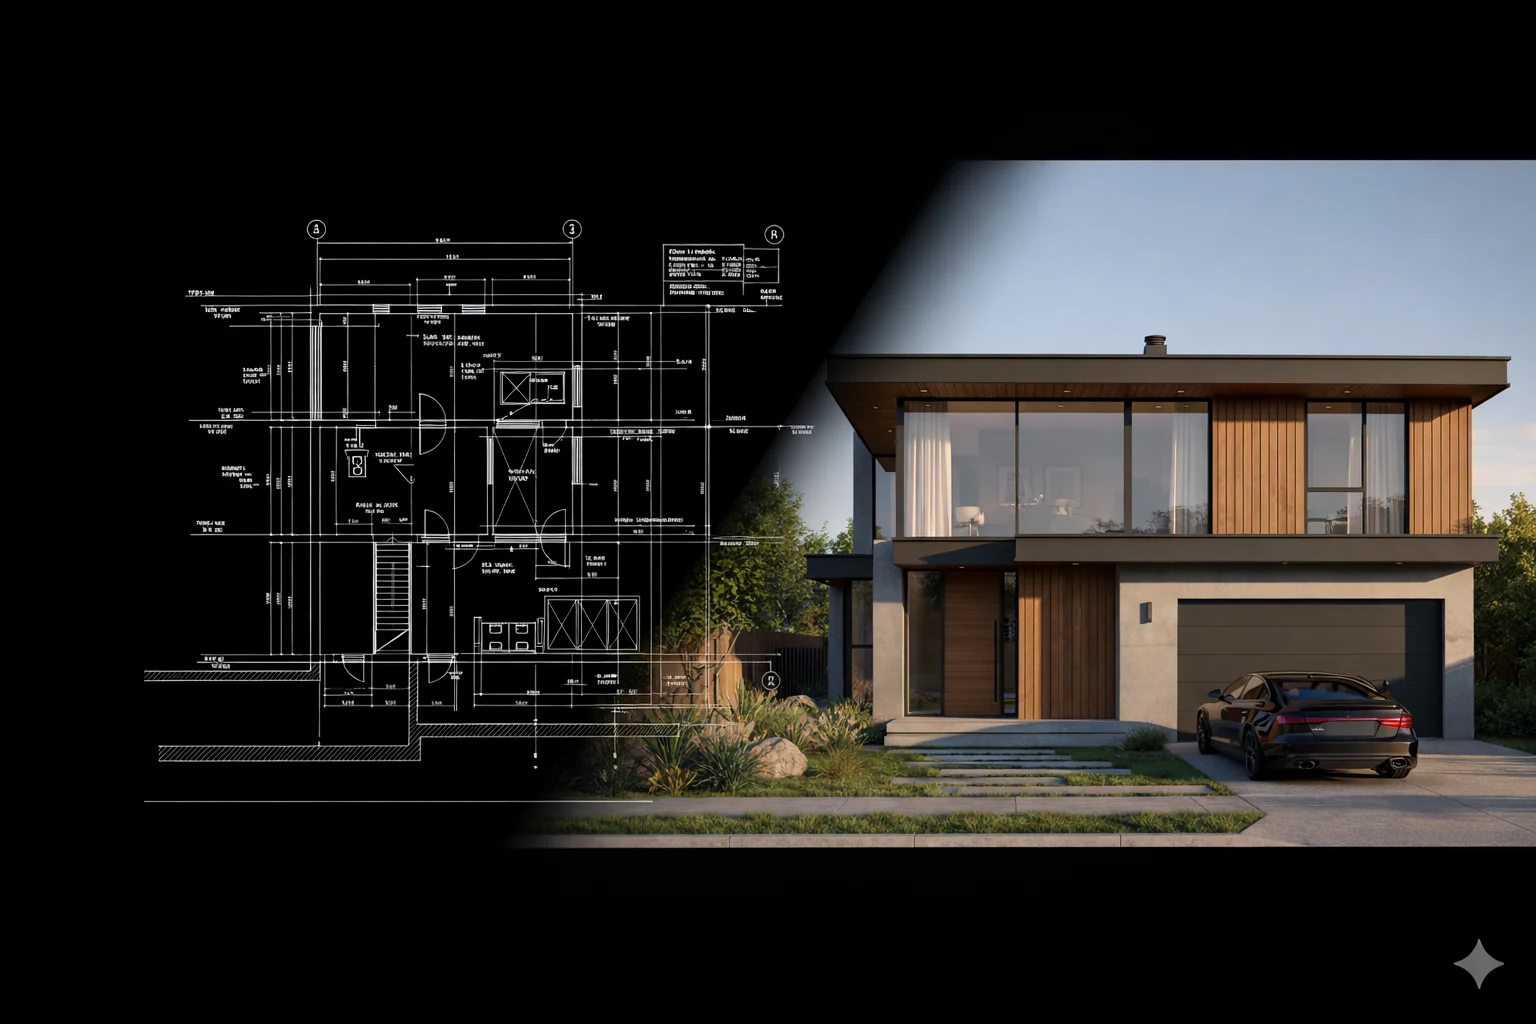
Image suggestion: Final render comparison (before/after)
Alt text: “Step-by-Step Workflow final 3d architectural rendering”
Delivering the Final Output
The last stage is preparing render files for client delivery. Standard formats include JPEG, PNG, TIFF, or PSD depending on use. Organized file naming and clear folders maintain professional standards.
A clear Step-by-Step Workflow ensures both the designer and client understand every stage, from CAD to photorealistic 3D architectural rendering.
Common Mistakes and Tips for Architecture Designers
Even experienced architecture designers face common pitfalls:
- Inaccurate modelling from CAD files
- Misaligned textures
- Overexposed or unnatural lighting
- Missing environmental context in exterior architectural rendering
Following a structured workflow prevents these mistakes and ensures high-quality 3D architectural rendering consistently.
Conclusion
A Step-by-Step Workflow is essential for turning CAD drawings into photorealistic 3D architectural renders. By carefully progressing through CAD cleanup, modeling, texturing, lighting, detailing, camera setup, test renders, and final output, architecture designers create visuals that impress clients and convey design intent clearly.
This workflow ensures that 3D architectural rendering is not only technically accurate but also emotionally engaging, resulting in realistic, immersive, and professional visuals.
Do Follow resource:Learn more about photorealistic rendering techniques – Autodesk.